

I have a confession to make- I am a massive hoarder. Clothing specifically, and I'm sure others have some other aspect of their lives like books or gadgets (basically something much more constructive) that they can't help but keep every item, despite the protests of sagging bookshelves or limited storage space. In my case it's the umpteen suitcases it takes to transport my closet on moving day, the hours of organising it all into colour-coordinated, razor-sharp folding piles that would put designer stores to shame. I don't buy clothes unless I desperately want/need it and is good quality, so for me each item of clothing represents the hours of researching it took to find the right piece, the cost, and more importantly, the memories associated with each one. As you can guess, there are clothes in my closet that have been in there for six years or more, and even though they're frayed, have holes, stains, or have lost their shape, I can't bear to part with them and they remain in my wardrobe on the flimsiest of excuses....
Now, you can imagine that the combination of my love of DIY with my hoards of clothes, my tiny London flat can start to resemble a Primark Boxing Day Sale. For all those hoarders like me out there, I dedicate this DIY project to you. Transforming your raggedy tees and dresses into fabric for scarves, rugs, or anything else that takes your fancy is a handy way of keeping your treasured clothes whilst simultaneously freeing up more space in your closet and creating something new. Not to mention, it is ridiculously simple to do!
You will need:

- An old tee or dress
- A pencil, fabric pencil or chalk
- Measuring tape or ruler
- Scissors
Instructions:
1. Lay your shirt on a flat surface where you can easily mark it. Lay your ruler or measuring tape down the centre of the shirt, so that it lines up with the beginning of the shirt.
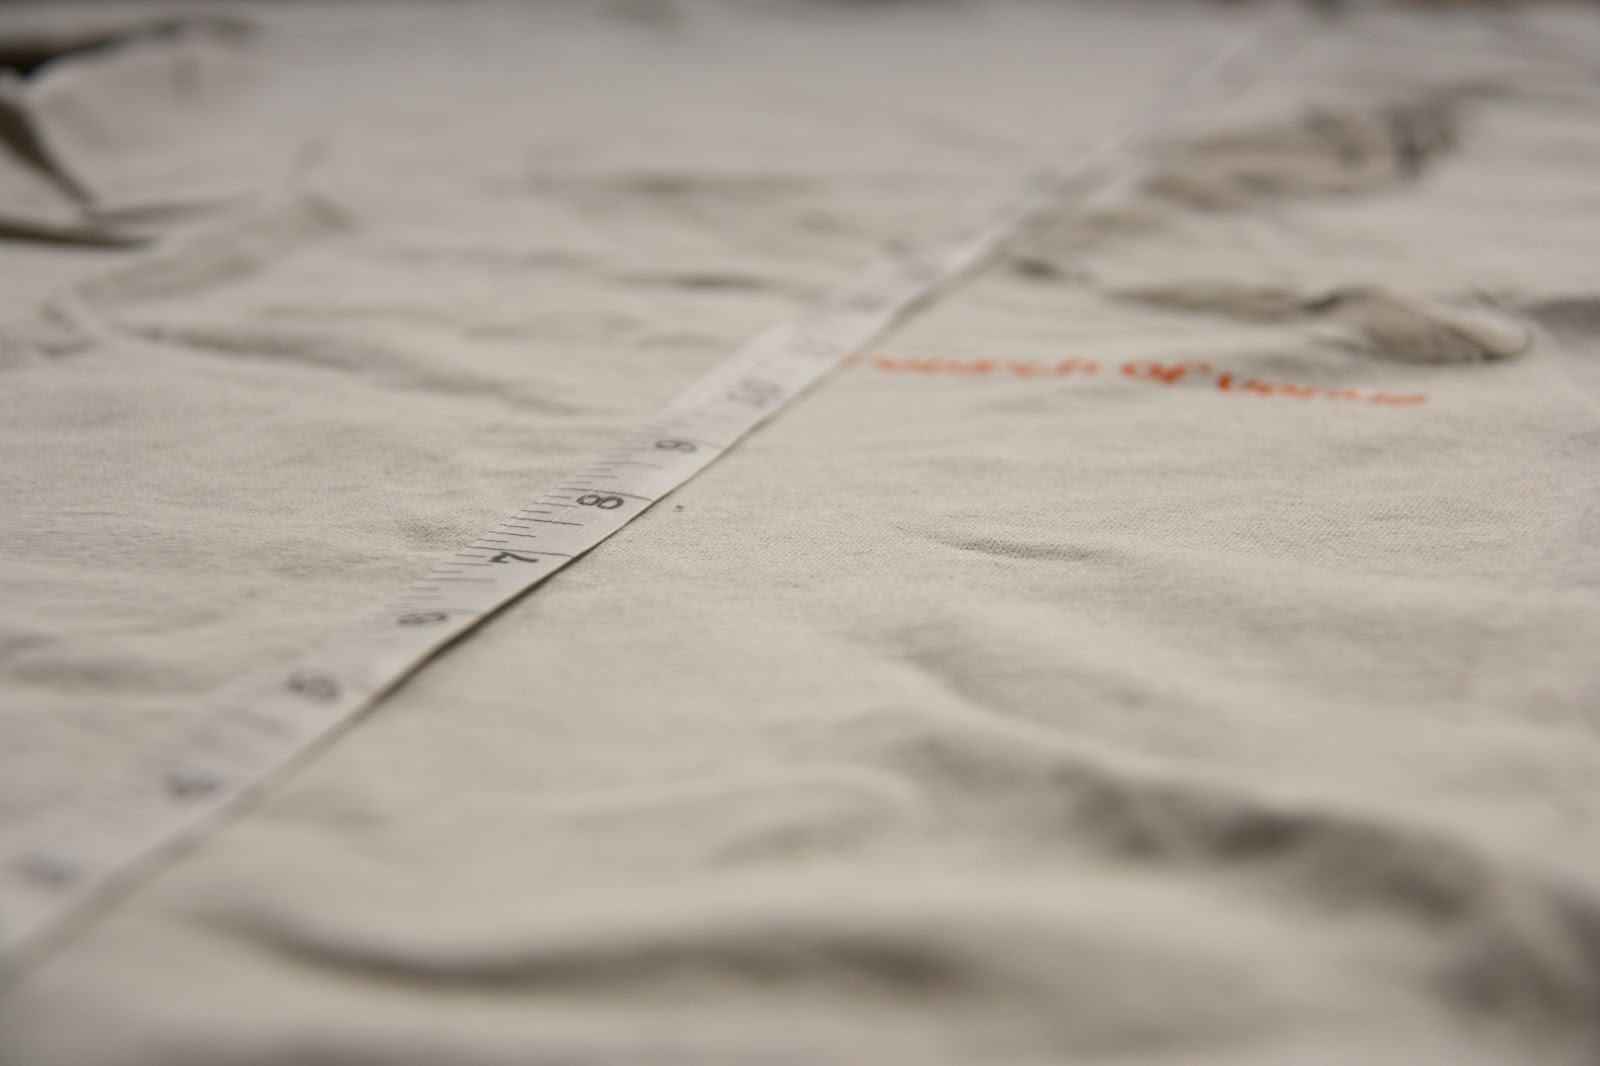


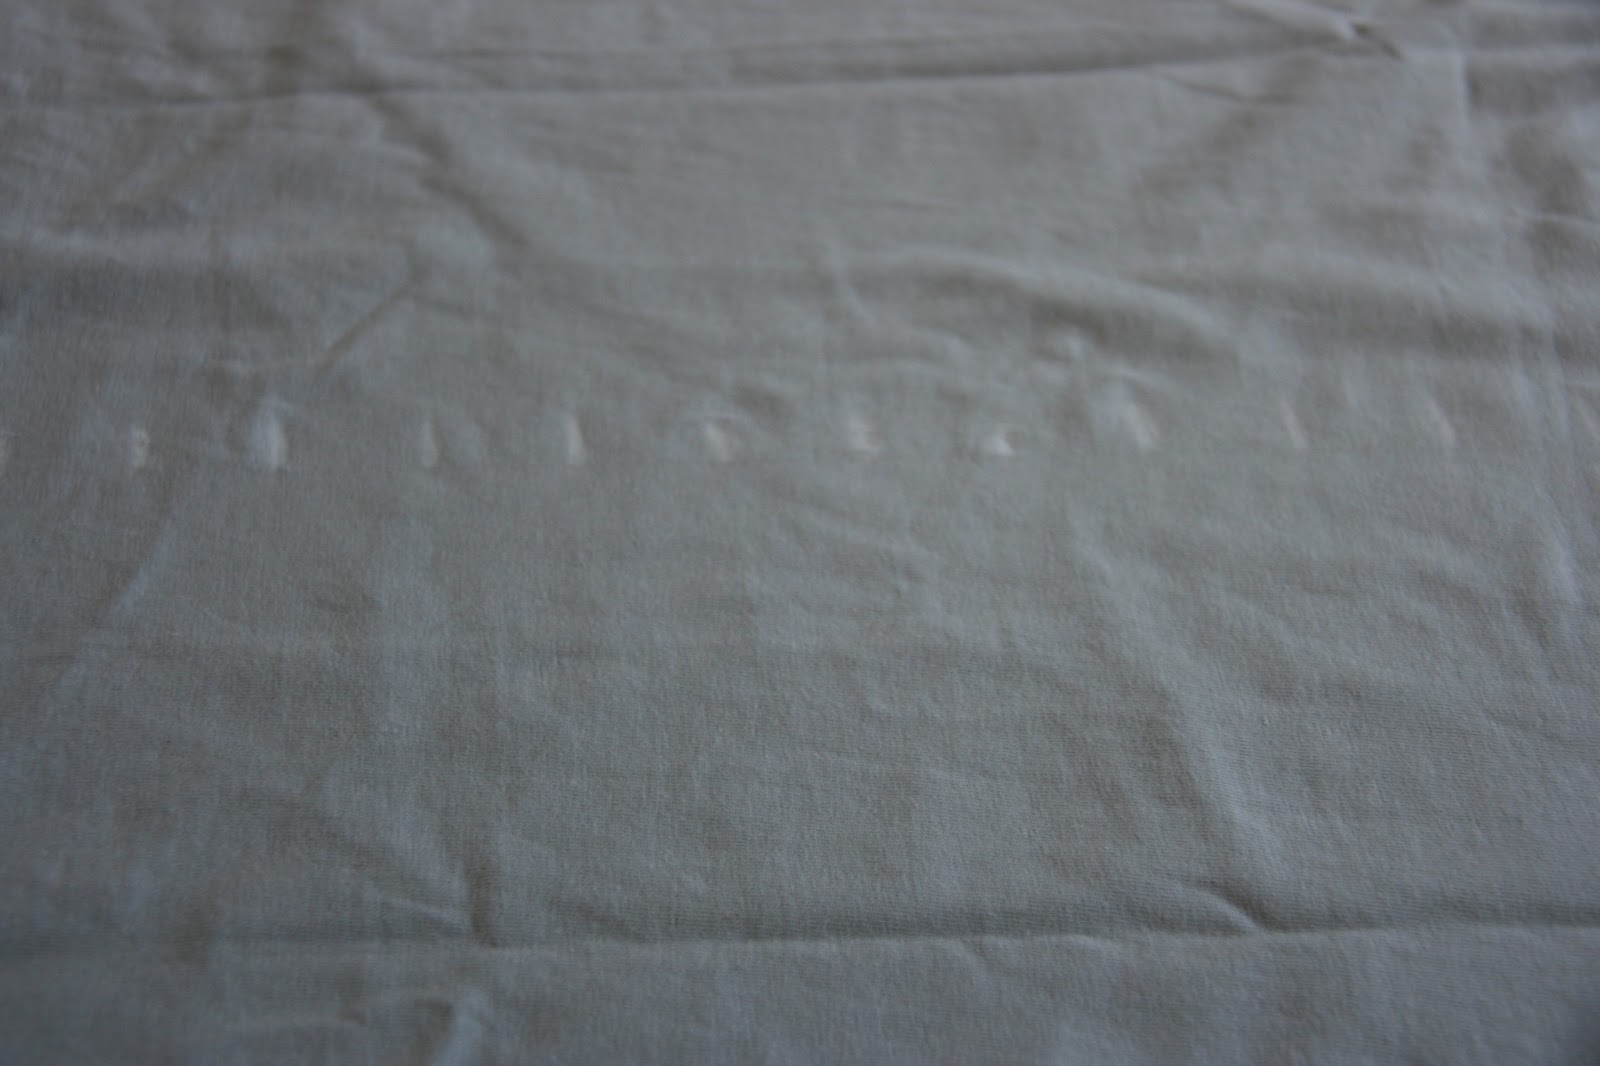
3. Once you have finished doing this, turn the tee over and line the ruler up with the middle of the back of the shirt. Using your chalk/pencil, make marks along every half-inch mark on the ruler, until you reach the sleeves.

Your shirt should look like this after you finish:
4. Once you have finished marking your shirt with the correct measurements, turn it to the back, and cut a diagonal line going right to the first chalk line.

5. Using this as a marker, continue to cut the tee to the right, increasing very slowly in width, until you reach the first chalk mark on the front of the tee. Continue to repeat this, following the first chalk mark on either side of the shirt as you continue to go around the shirt. The thread should measure half an inch in width, and you should basically just be going round in a long spiral circle around the shirt :)
Once you have reached the sleeves, cut this off the rest of the shirt and throw away the sleeve section (unless you fancy rocking a very cropped top!). Now you have your tee shirt yarn to create whatever you want with it!


These tee yarns create a great, unique look. If you need any help or have any questions, please leave a comment below! :)
No comments:
Post a Comment